The Benefits of a Bring-Your-Own-Key (BYOK) Model
PressBot uses a bring-your-own-key (BYOK) model for AI providers. This means you control your API costs, data privacy, and which AI models power your WordPress assistant. Instead of paying PressBot per message, you pay Google directly for the tokens you use—and Gemini has a free tier to start.
The BYOK design gives you three immediate advantages:
- Full Cost Control — No per-message fees from PressBot. You only pay for what you use through Google’s API pricing.
- Data Privacy — Your API requests go directly to Google’s infrastructure, not through PressBot’s servers. Your site content and user queries remain in your control.
- Model Flexibility — Use Gemini 2.5 Flash for your chatbot, switch to a different model for the admin agent, or update your model choice anytime without reconfiguring PressBot.
What PressBot Does With Gemini
When you connect Gemini to PressBot, your WordPress assistant gains access to the public chatbot and the admin agent. Here is what becomes available:
Gemini-Powered Public Chatbot
Your visitor-facing chatbot answers questions based on your knowledge base. You upload markdown files to your knowledge base — product info, FAQs, support docs, or company policies. The chatbot uses Gemini to understand visitor questions and respond with relevant answers from your content. Gemini’s fast response times keep conversations feeling natural, and you train it on your specific site content.
Admin Agent with 60 WordPress Tools
The admin agent is available across your entire WordPress admin interface. Use natural language commands to create posts, manage plugins, generate featured images, audit security, moderate comments, and handle WooCommerce operations—all through conversation.
Example workflow: In your WordPress dashboard, you type, “Create a draft post about our summer sale, then generate a featured image for it.” The agent drafts the post using Gemini, shows a preview for approval, and then generates an AI image. You review, refine, and publish.
Direct AI Image Generation
Gemini generates AI images directly from PressBot. The agent creates featured images for posts, bulk-generates images for multiple posts, and auto-generates alt text descriptions using AI vision. This is valuable for content teams that need to produce visuals quickly without leaving WordPress.
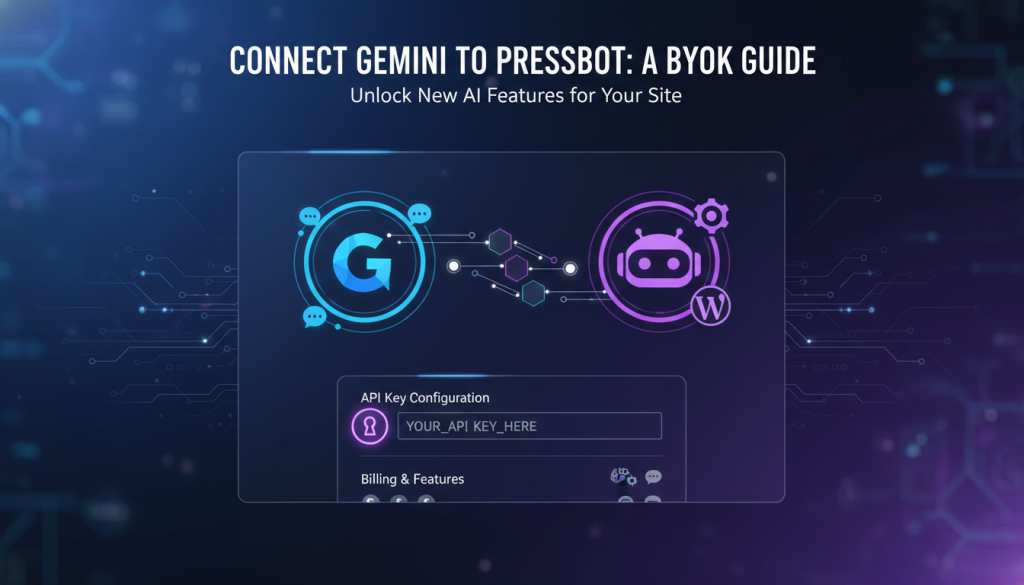
How to Connect Gemini to PressBot
1. Get Your Gemini API Key
Google Gemini offers a free tier with no credit card required to start. Here’s how to get your API key:
- Visit https://aistudio.google.com/app/apikey
- Click “Create API Key” or “Get API Key”.
- Select your Google Cloud project or create a new one if prompted.
- Your API key appears on the screen. Copy it immediately—Google does not display it again.
- Store it securely in a password manager or temporary note.
No billing information is required for the free tier. To use Gemini beyond the free limits, set up billing in the next step.
2. Set Up Billing (Optional)
Gemini’s free tier includes a daily quota. For consistent, higher-volume use, enable billing on your Google Cloud project:
- Visit https://console.cloud.google.com/billing.
- Select your Google Cloud project.
- Click “Link Billing Account” or “Create Billing Account”.
- Enter your payment method and billing address.
- Enable the Generative Language API for your project if it’s not already enabled.
Once billing is active, you have access to higher rate limits. Gemini’s pricing is based on token usage for text and per-image for generation. For the most current rates, check the official Google Cloud pricing page. You are only charged by Google for your actual usage.
3. Add Your Key to PressBot
Now, add your API key to PressBot:
- Log into your WordPress admin.
- Navigate to PressBot > Getting Started.
- In the setup wizard, choose Google Gemini as your provider.
- Select your preferred Gemini model. Gemini 2.5 Flash is recommended for its speed and capability.
- Paste your API key into the designated field.
- Click “Test Connection” to verify the key works.
- Save your settings.
Your API key is encrypted using WordPress salts before storage and is never displayed again after saving.
4. Configure Your AI Agents
With Gemini connected, activate the features you want:
- Enable the public chatbot widget to let visitors chat with your site.
- Upload markdown files to your knowledge base to train the chatbot on your content.
- Enable the admin agent to use the 60-tool suite inside WordPress.
If you want to use a different AI model for the admin agent (for example, Anthropic Claude for complex reasoning), you can configure it separately. PressBot allows per-agent model selection.
Your Assistant is Ready
Once connected, your chatbot is live immediately. Visitors will see your widget and can ask questions. The admin agent is ready on any WordPress page—look for the PressBot icon in the admin interface and type natural language commands like “Show me all published posts about WordPress” or “Run a security audit.”
Monitor your API usage on the Google Cloud console to track costs. The free tier is generous for testing. If you scale up, you will see clear pricing in your Google Cloud billing dashboard.
Next step